
Wallpaper removal can be an overwhelming task, but it doesn’t have to be. Whether you’re preparing for a fresh new look or simply ready to modernize your walls, knowing the right steps to take can make the process smoother and more successful. As a trusted painting company with over 40 years of experience, we’ve perfected the art of wallpaper removal and painting, ensuring that your walls are ready for a beautiful transformation. In this guide, we’ll walk you through the essential steps to prep your home for wallpaper removal and new paint.
Step 1: Clear the Room
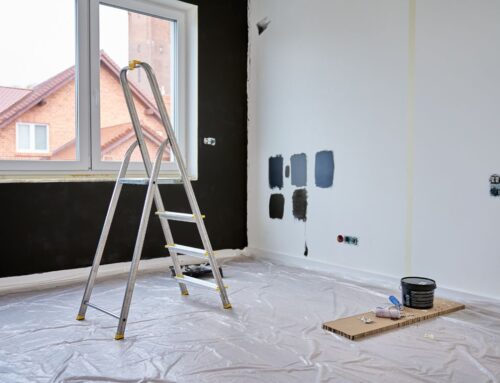
Before you begin any wallpaper removal process, the first and most important step is to clear the room. Take out all furniture, décor, and items hanging on the walls. This helps prevent any damage to your belongings and creates a safer workspace. If you can’t move large furniture, cover them with plastic sheeting or drop cloths to protect them from any dust or debris that might fall during the process.
Step 2: Protect Your Floors
Wallpaper removal can get messy. Whether you’re using traditional wallpaper removal methods or a more advanced approach, there’s likely to be water, adhesive, and dust involved. Lay down drop cloths or plastic sheeting on your floors to shield them from any splashes or residue. This is particularly important if you have carpeted floors or delicate flooring like hardwood or laminate.
Step 3: Remove the Wallpaper
Now comes the tricky part—removing the wallpaper. This task can vary depending on the type of wallpaper you have. Some wallpapers peel away easily, while others require a little more work. Here’s a general guide on how to remove wallpaper:
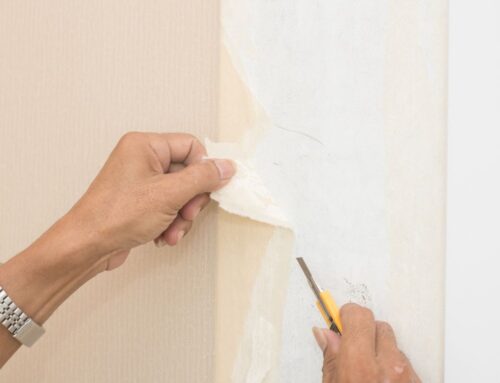
- Peelable wallpaper: Start by gently lifting one corner of the wallpaper and slowly peel it away from the wall. If the adhesive is stubborn, you can use a wallpaper scraper to help lift the material.
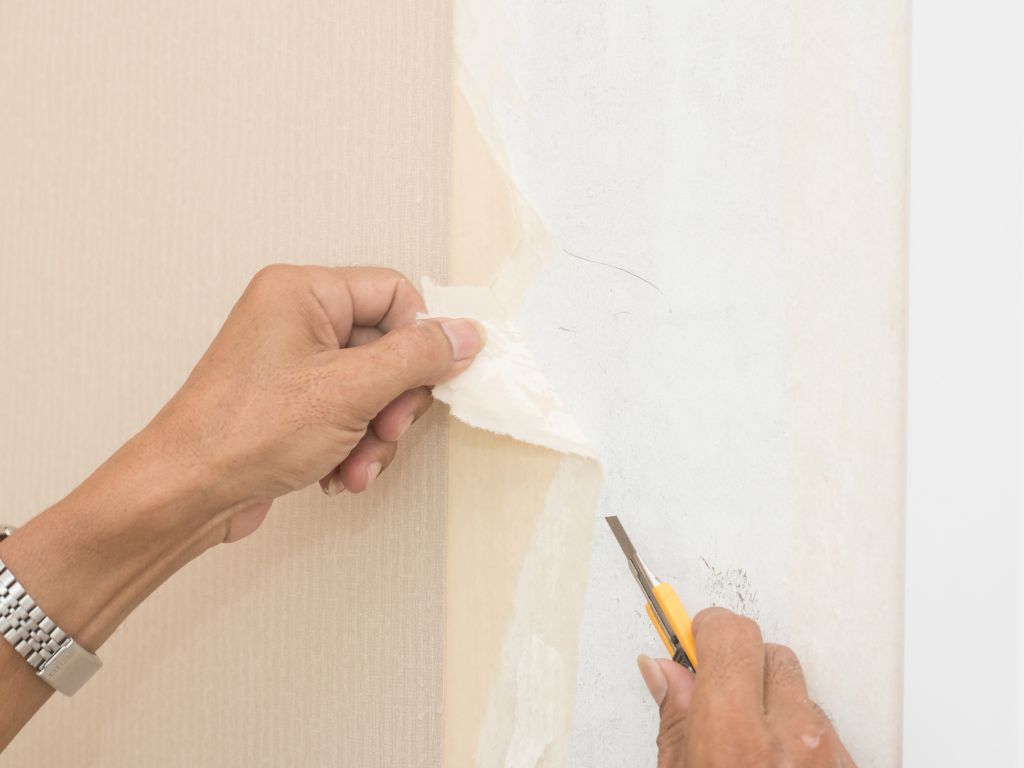
- Non-peelable wallpaper: This type of wallpaper requires more effort. Begin by scoring the wallpaper with a utility knife, making small cuts in the paper to allow moisture to penetrate. After scoring, apply a wallpaper removal solution (available at most home improvement stores) to the wall to loosen the adhesive. Let it sit for a few minutes before using a scraper to remove the wallpaper.
- Professional wallpaper removal: If you’re facing particularly stubborn wallpaper or you just don’t want to deal with the mess, consider hiring a professional wallpaper removal service. We offer wallpaper removal services that ensure your walls are left smooth and ready for painting, with minimal disruption to your space.
Step 4: Clean the Walls
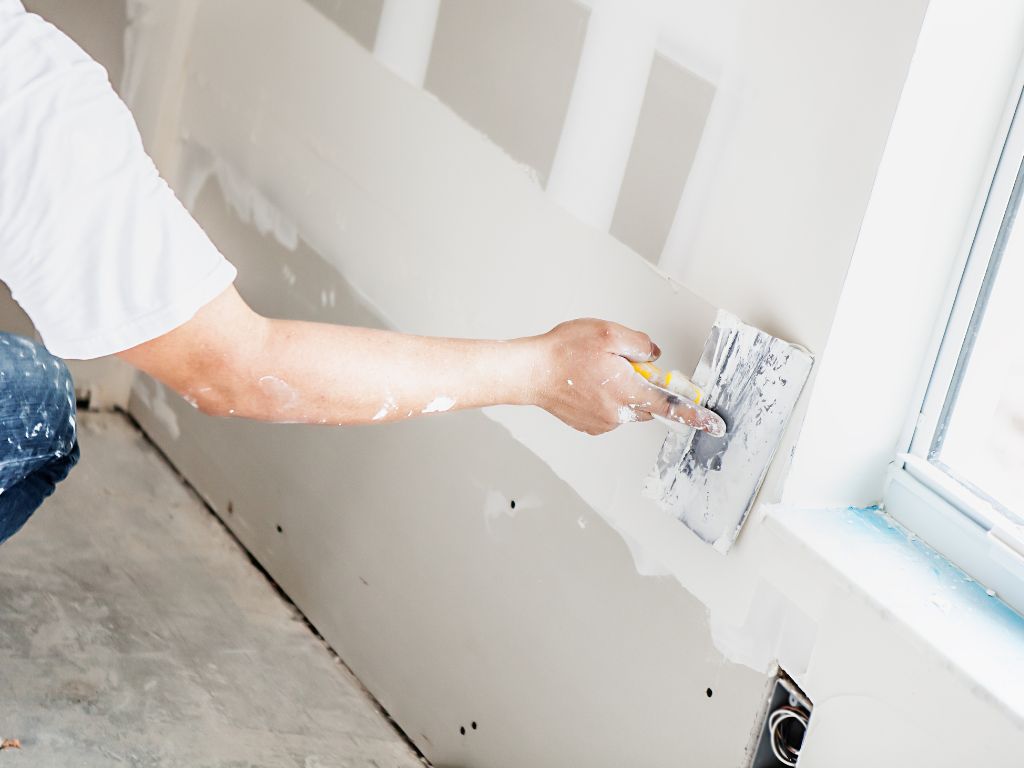
Once the wallpaper is off, you’ll likely find some residual adhesive or paste left behind. Use warm water and a mild cleaning solution to wipe down the walls and remove any remaining glue. This step is crucial because any leftover adhesive can affect the new paint job, leading to peeling or uneven coverage later on.
If your walls have any holes, cracks, or imperfections, now is the time to fix them. We specialize in drywall repair and skim coating, so if you need any assistance with smoothing out your walls, our team can help. Once the wall surface is clean and smooth, let it dry completely before moving on to the next step.
Step 5: Sand the Walls (If Necessary)
Depending on the condition of the walls after wallpaper removal, you may need to do a little sanding to smooth out rough patches. Use fine-grit sandpaper to gently buff the wall and eliminate any bumps or residue left from the wallpaper. This will create a flawless surface for the new paint to adhere to and will ensure a professional-looking finish.
Step 6: Apply a Primer
Before painting, applying a primer is highly recommended. Primer helps to seal the walls, create a uniform surface for the paint, and ensures that the paint adheres better. Choose a high-quality primer that works well with the type of paint you plan to use. If you’re not sure which primer to choose, we can offer guidance to make sure you get the best results.
If you’re dealing with a more complex issue like dark stains or water damage, a stain-blocking primer will provide additional protection. Our team also handles drywall repair, so if there are any significant issues with your walls that need extra attention, we can take care of those for you.
Step 7: Paint Your Walls
Now for the fun part—painting your walls! You can choose a new color or style, but make sure to pick a high-quality paint for the best finish. We only use premium brands like Sherwin-Williams and Benjamin Moore, ensuring vibrant, long-lasting results. Whether you’re opting for a bold new hue or a classic neutral shade, a fresh coat of paint will completely transform your space.
As experts in interior painting, we’ve learned that good painting technique is just as important as the quality of the paint itself. Applying multiple coats, using the right brushes and rollers, and paying attention to corners and edges are essential for a seamless look. If you’re unsure about your painting skills, our professional painters are here to help. We offer expert interior painting services in Nassau County and the surrounding areas, ensuring that your walls are beautifully painted and well-protected.
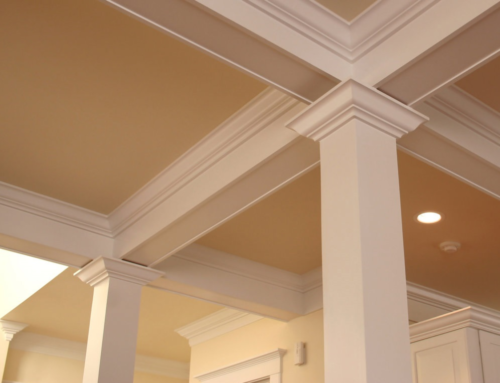
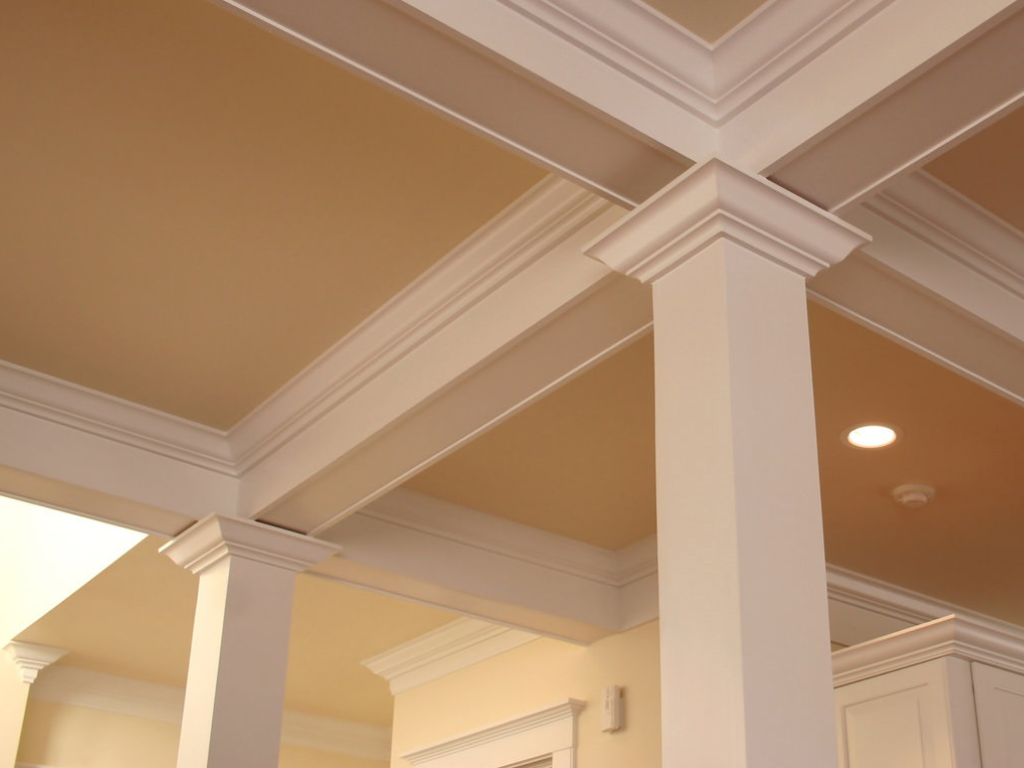
Step 8: Finish with Molding Installation (Optional)
If you want to add an extra touch of elegance to your newly painted room, consider adding molding to the edges of your walls. Molding installation can elevate the overall look of your space and create a polished, finished appearance. As skilled molding installers, we can help you choose the right style of molding and install it with precision.
Final Touches
Once the paint has dried and any additional details like molding have been added, your room is ready to shine. If you’ve had wallpaper removal done in conjunction with new paint, your walls should look fresh, clean, and flawless. Remember to remove any protective coverings from your floors and furniture, and you’ll be all set to enjoy your newly transformed space.
Contact Us for Expert Wallpaper Removal and Painting Services
Ready to transform your home with a new paint job after wallpaper removal? Whether you’re in need of professional wallpaper removal services, interior painting in Wheatley Heights, or drywall repair in Suffolk County, we’re here to help. Contact Purely Paint today to schedule a free, no-obligation estimate. We’ll guide you through the entire process, ensuring a smooth and beautiful outcome.
For more information or to get started, call us at (516) 835-5880 or email mike@purelypaint.com. You can also visit our Contact page to request a consultation. We look forward to working with you!

Leave A Comment