
One of the most overlooked aspects of painting is what happens before the paint goes on the wall: surface preparation. At Purely Paint, we know the key to a long-lasting, smooth, and professional result is found in the details you can’t always see—like the sanding, patching, and priming done beforehand.
The Importance of Prep
Even the most premium paint will fail if applied over a poorly prepped surface. Cracks, dirt, old flaking paint, or even grease on the walls can prevent proper adhesion, causing peeling or uneven coverage. That’s why we take the time to prep every surface properly—no shortcuts.
Key Prep Steps We Never Skip
1. Cleaning the Surface
Dirt, oil, and grime interfere with paint adhesion. We clean walls thoroughly, especially in kitchens and bathrooms where buildup is common.
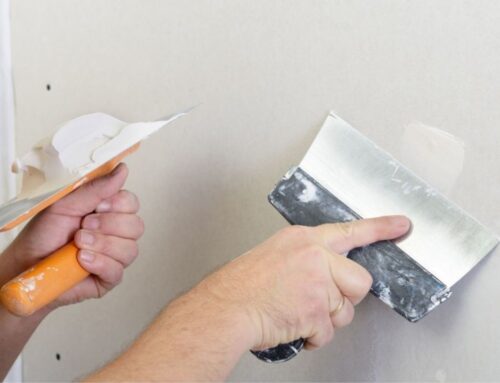
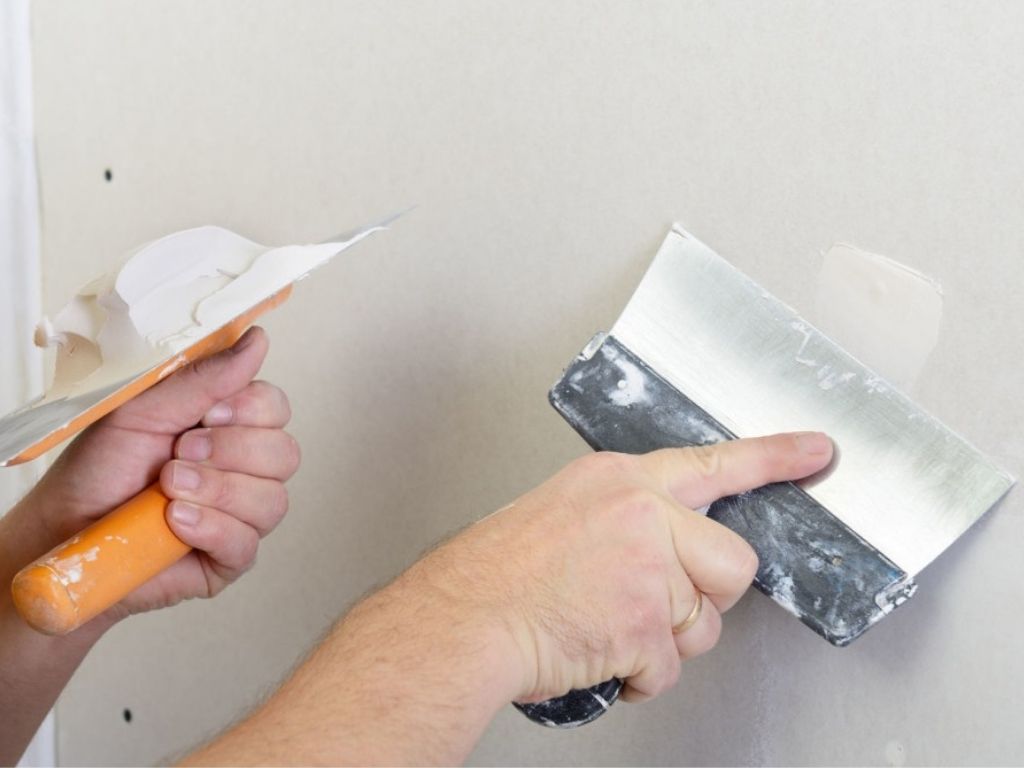
2. Repairing Imperfections
We fill nail holes, patch cracks, and repair minor drywall damage to ensure a smooth, even surface.
3. Sanding
Sanding helps the paint grip the wall and removes any minor texture issues, especially around patched areas.
4. Priming
Priming seals surfaces, blocks stains, and allows the topcoat to go on evenly. For porous surfaces or color changes, a high-quality primer is essential.
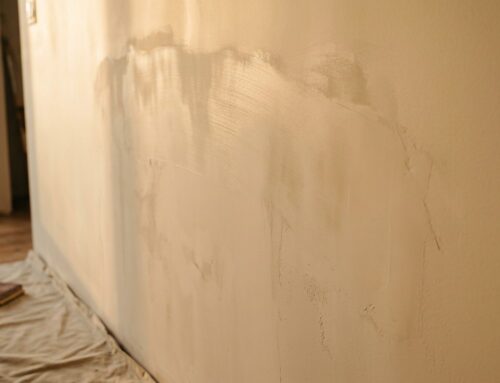
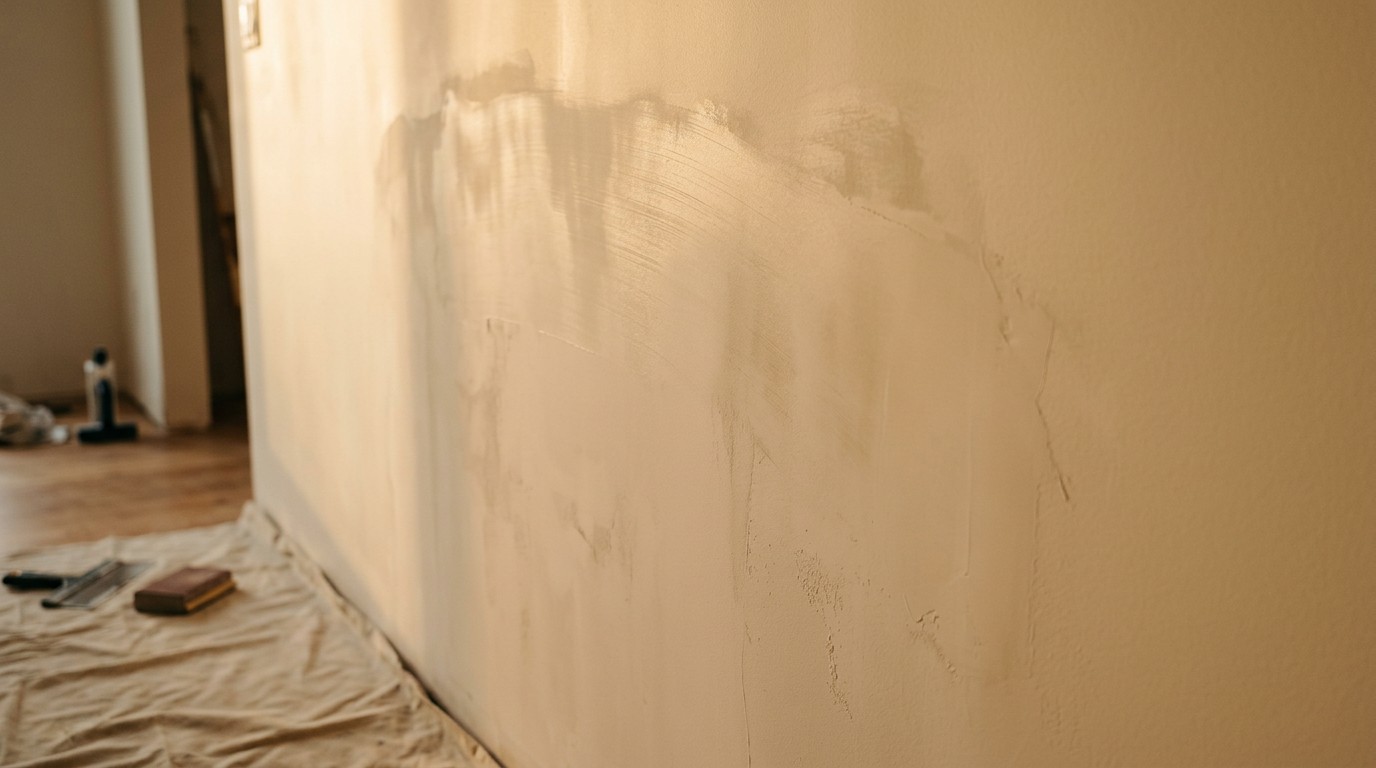
When Skipping Prep Leads to Problems
We’re often called in to fix failed DIY paint jobs where poor prep is the culprit. Bubbling, peeling, uneven finish, and flashing (shiny spots) all trace back to surfaces that weren’t cleaned, patched, or primed properly.
The Purely Paint Difference
We treat prep as the foundation of every successful job. That means better durability, smoother walls, and a finish that truly looks—and lasts—professionally done.
Thinking about repainting? Let us prep your space the right way. Call Purely Paint at (516) 835-5880 for a free estimate.
Leave A Comment