
Surface preparation for painting is the difference between a finish that looks great for years and one that starts peeling, cracking, or flashing too soon. When we prep correctly, we help paint bond better, level out imperfections, and handle daily wear, humidity, and seasonal changes across Long Island.
Below, we’ll break down what “proper prep” really means, why it matters for both interiors and exteriors, and the practical steps that protect paint durability near Nassau County, NY and improve finish longevity serving Suffolk County, NY.
What Is Surface Preparation For Painting, And Why Does It Matter So Much?
Surface preparation for painting is the process of cleaning, repairing, sanding, and priming a surface so the coating can properly bond and cure. It matters because paint is only as strong as what it sticks to, and even premium products can fail early when applied over dust, gloss, moisture, or damaged materials.
On Long Island, surfaces often deal with salt air, humidity, and big temperature swings. That makes proper surface preparation Long Island homeowners rely on especially important for preventing peeling, bubbling, and uneven sheen.
How Does Proper Surface Prep Affect Paint Durability And Finish Longevity?
Proper prep improves paint durability by creating a stable, clean, and evenly textured base so paint can bond and cure as designed. It also boosts finish longevity by preventing common failures like peeling from moisture, cracking from movement, and blotchy sheen from porous patches or unsealed repairs. For interiors and exteriors alike, prep is what turns paint into a protective system, not just a color change.
If you want to go deeper on the make-or-break steps, our guide on how professional surface prep makes or breaks a paint job lays out what we look for before a brush ever hits the wall. And when wall condition is the main issue, sheetrock and drywall repair is often the first step to getting a finish that lasts.
Prep impacts durability in a few key ways:
- Adhesion: clean, dull, sound surfaces give paint “tooth” to grab onto
- Moisture control: dry surfaces and proper primers reduce bubbling and peeling
- Uniform absorption: sealing patches prevents flashing and uneven sheen
- Smoother appearance: sanding and skim coating reduce texture defects that stand out in certain lighting
Common Paint Failures That Usually Trace Back To Poor Prep
Many homeowners assume paint failure means the paint was “bad.” More often, the surface wasn’t ready for it. Even high-end paints can’t overcome contaminants, moisture, or unstable substrates.
Here are the prep-related issues we see most:
- Peeling or flaking: often caused by painting over chalky surfaces, dust, or moisture
- Bubbling/blistering: typically from trapped moisture or heat on improperly prepped exteriors
- Cracking/crazing: can happen when paint goes over brittle layers or flexible gaps weren’t sealed
- Stains bleeding through: caused by skipping stain-blocking primer on water stains, knots, or smoke damage
- Flashing (shiny/dull patches): common when repairs aren’t primed evenly
If your walls have dents, soft spots, or taped seams showing, it’s worth reviewing a repair-first approach like drywall repair before painting a Suffolk County checklist.
Which Prep Steps Matter Most For Interior Painting?
Interior surfaces usually fail from adhesion problems (grease, dust), uneven porosity (patches), and visible defects highlighted by natural light. The good news is that interior prep is very controllable when done methodically.
Core interior prep steps typically include:
- Protecting floors and furniture, then removing plates, hooks, and hardware
- Cleaning walls (especially kitchens and high-touch areas) to remove oils and residue
- Repairing cracks, nail pops, dents, and failed caulk lines
- Sanding glossy areas and feathering patches so repairs disappear
- Spot-priming repairs or fully priming when changing sheen/color or painting over stains
If you’re planning a full refresh, you may also want to pair paint with detail upgrades like molding installation, since trim work often looks best when walls are properly smoothed and primed first.
What Changes With Exterior Prep On Long Island Homes?
Exterior prep has a different job: it has to protect against weather. Sun, wind, salt air, and moisture all magnify small prep mistakes. That’s why paint durability near Nassau County, NY often comes down to whether the substrate was cleaned, dried, and stabilized before coating.
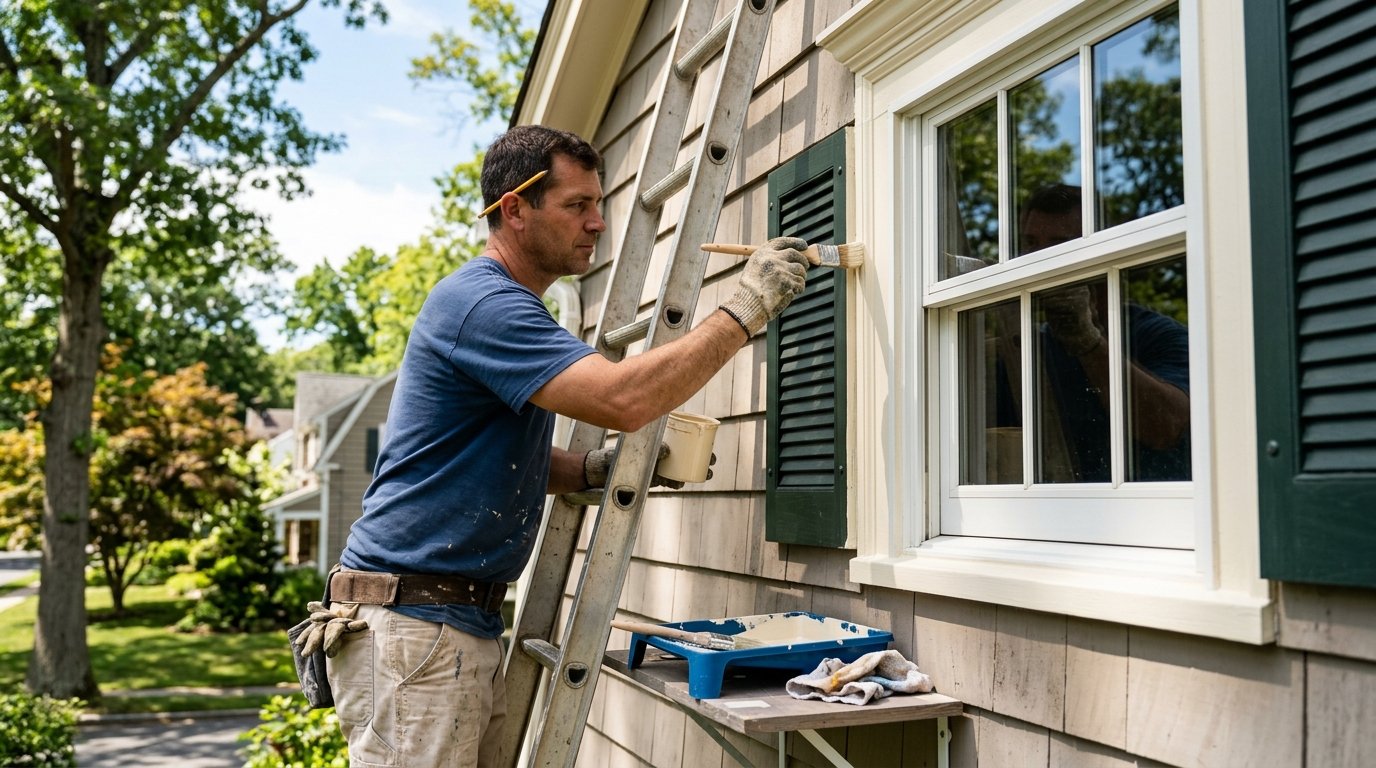
Exterior preparation frequently includes:
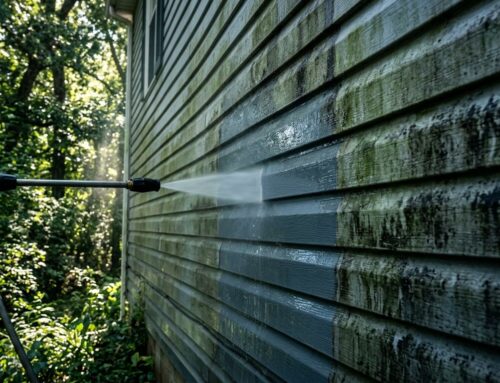
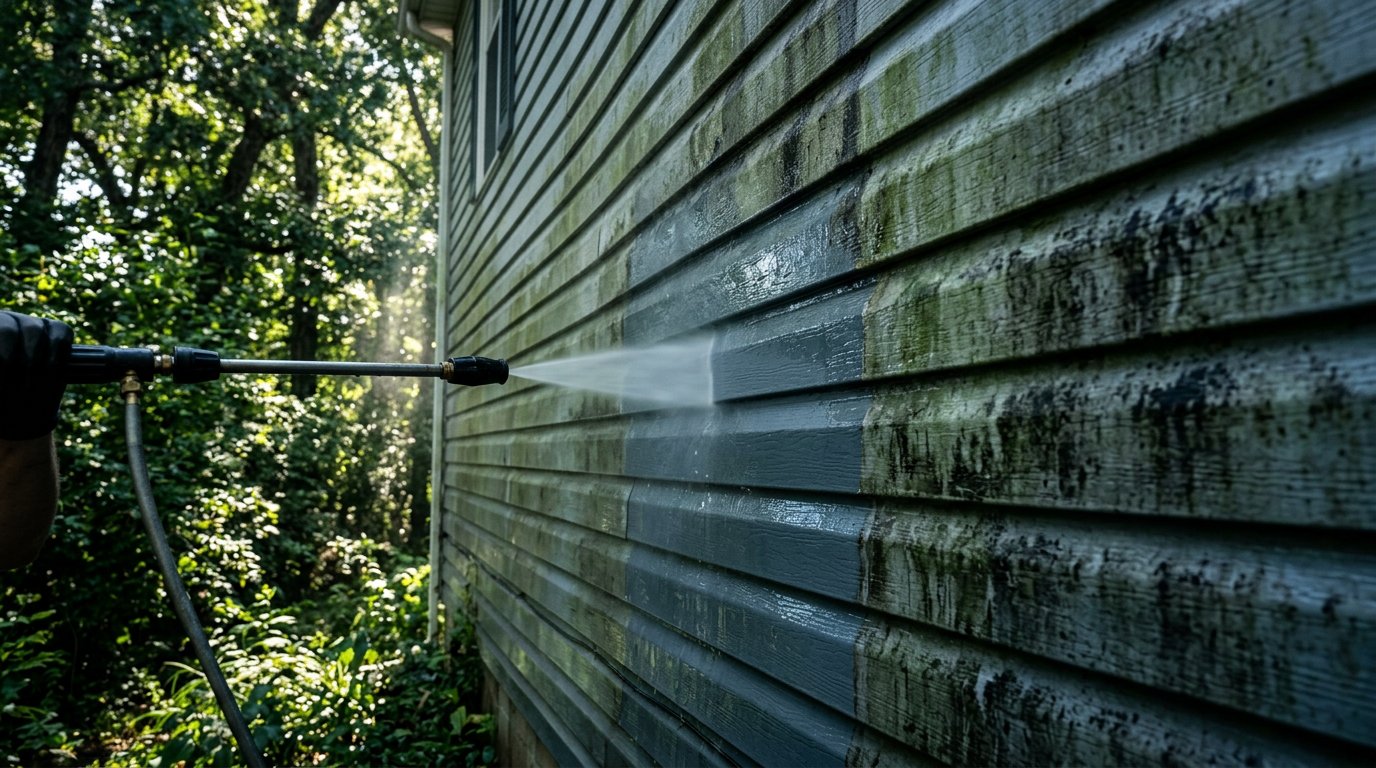
- Power washing to remove mildew, dirt, salt film, and chalking
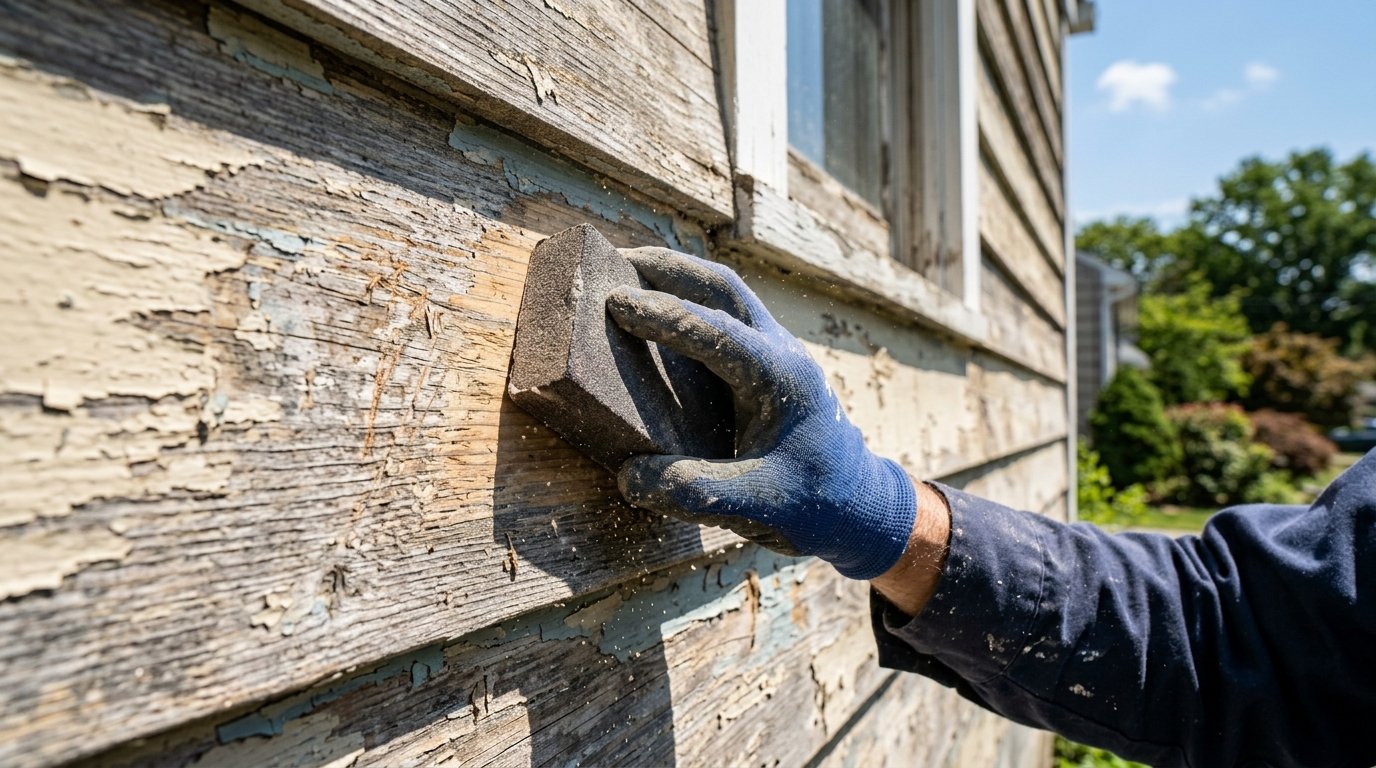
- Scraping loose paint and sanding edges for a smooth transition
- Repairing rotten or damaged wood (or replacing sections when needed)
- Caulking joints and sealing gaps to reduce water intrusion
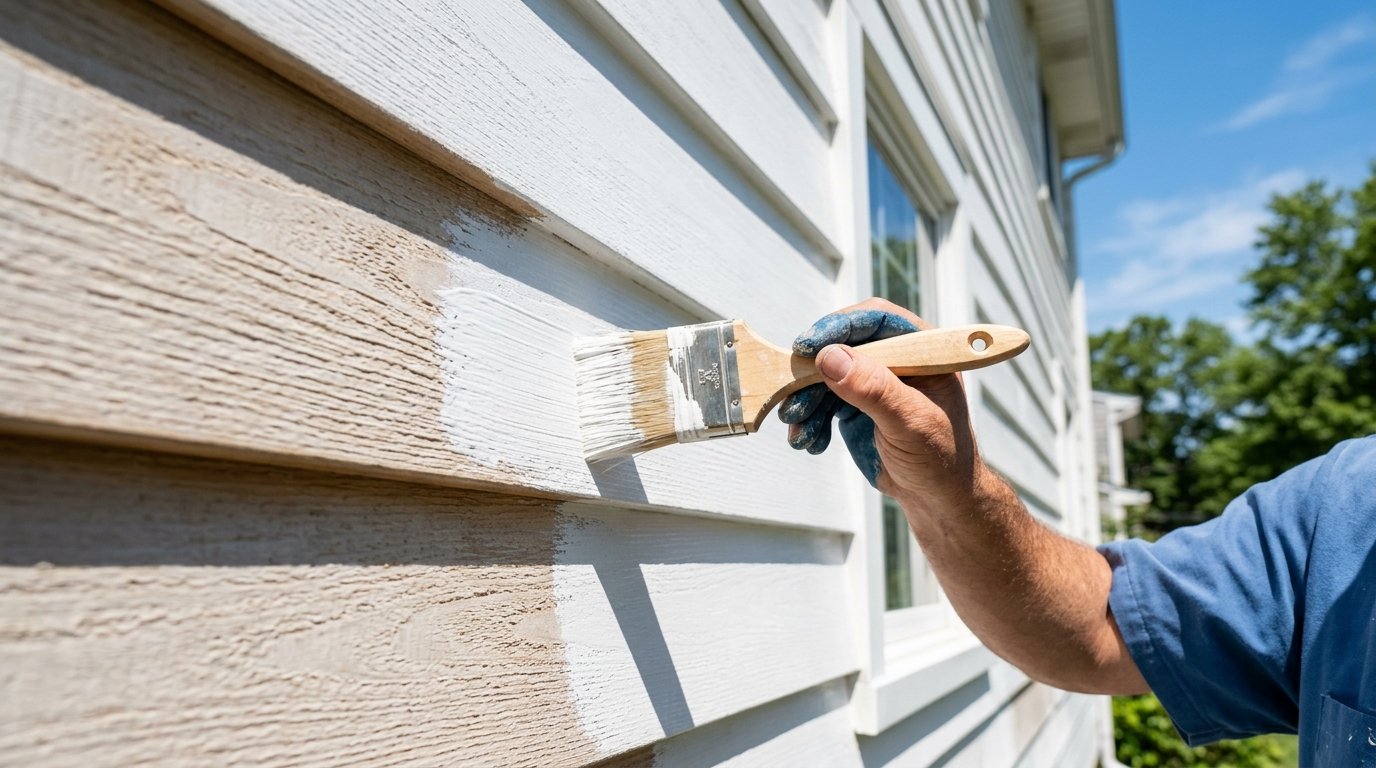
- Priming bare wood, patched areas, and any stained spots
Timing matters too. Painting over a surface that hasn’t fully dried after washing (or after rain/dew) is one of the fastest ways to cause blistering later. For related maintenance that supports exterior performance, our post on how to maintain a fresh exterior paint job year round is a helpful companion.
Do You Always Need Primer, Or Is It Optional?
Primer is not always mandatory, but it’s rarely “optional” when you care about finish longevity serving Suffolk County, NY. Primer is designed to bond to the surface and create a uniform base that topcoats can grip and cure on evenly.
You’re more likely to need primer when:
- you’re painting over repairs (spackle, joint compound, skim coat)
- you’re changing from oil-based to latex coatings
- the surface is stained (water stains, smoke, tannins)
- the existing paint is glossy or unknown
- you’re painting raw wood, bare drywall, masonry, or patched areas
For walls that need significant smoothing, skim coating and proper priming go hand-in-hand. When repairs are extensive, starting with professional drywall repair can prevent visible patch maps and uneven sheen later.
What Are The Best Painting Prep Tips Serving Queens, NY Apartments And Homes?
In Queens, the challenge is often living-in-place: tight rooms, shared walls, older plaster, and busy schedules. Good prep minimizes dust, avoids surprises, and helps the paint look consistent under strong daylight from apartment windows.
Practical painting prep tips serving Queens, NY include:
- Test small areas for peeling or unstable layers before committing to full coats
- Degrease kitchens thoroughly (paint won’t stick to cooking oils)
- Use the right patch material for plaster vs. drywall to prevent cracking
- Sand between repair steps to reduce ridge lines that show after painting
- Prime repairs and stains so the final sheen looks uniform wall-to-wall
If wallpaper is part of the equation, prep becomes even more important. A smooth paint finish typically requires proper removal and wall repair first, which is why many homeowners reference resources like wallpaper removal before planning the new color.
When Should You Fix The Wall Instead Of Painting Over It?
Painting can hide color, but it won’t hide shape. If the surface has damage, movement, or moisture problems, paint is likely to fail or highlight defects.
It’s usually better to repair first when you notice:
- recurring cracks (especially around doors, windows, or ceilings)
- soft drywall, bubbling tape, or damaged corner beads
- water stains that return after cleaning
- peeling paint layers that keep releasing
- texture differences you can feel by hand
For a structured approach to getting walls paint-ready, our article on the importance of prep work in a perfect paint job explains how repairs and prep steps work together to protect the final finish.
A Simple Prep Checklist You Can Use Before Any Painting Project
Whether you’re painting one room or a whole exterior, a consistent process is what protects the outcome. Here’s a homeowner-friendly checklist that aligns with professional standards:
- Confirm the surface is clean, dry, and sound (no chalking, dust, grease, or loose layers)
- Repair damage and let compounds fully cure
- Sand to de-gloss and feather repair edges
- Remove sanding dust (vacuum + tack/wipe as appropriate)
- Caulk gaps that should be sealed (then allow cure time)
- Prime repairs, stains, and porous areas for uniform absorption
- Spot-check with a bright light to catch imperfections before topcoats
If you’re unsure what level of prep your project needs, it helps to compare the scope against a full-service approach through our painting and home improvement services, especially when multiple surfaces (walls, trim, doors, ceilings) are involved.
Get A Longer-Lasting Paint Finish With The Right Prep From The Start
When surface preparation for painting is done correctly, your finish looks better on day one and holds up longer against everyday wear and seasonal weather. If you want help planning a durable system for your home or business on Long Island, we’re here to talk through options and timelines.
Call Purely Paint at (516) 835-5880 to discuss your project, or request a fast, straightforward painting estimate. If you prefer to reach out online, you can also connect with us through our contact us page and we’ll follow up with next steps.
Common Questions About Surface Preparation For Painting And Long-Lasting Results
How long should surface prep take before painting?
Prep time depends on the surface condition, not just room size. A clean, sound wall may need only light sanding and spot priming, while damaged drywall or peeling paint can require repairs, cure time, and multiple sanding passes. Rushing prep is a common reason paint durability drops and touch-ups become frequent.
Can I paint over glossy trim or oil-based paint without sanding?
Usually not if you want reliable adhesion. Glossy surfaces reduce “tooth,” so paint may scratch or peel sooner. Light sanding and the correct primer help bonding significantly. If your trim needs upgrades beyond paint alone, pairing prep with molding installation can also improve the finished look around doors and windows.
Why does my new paint look patchy even after two coats?
Patchiness is often caused by uneven absorption or sheen differences, not a lack of paint. Unprimed spackle and repairs can “flash” through topcoats, especially in angled light. Spot priming (or full priming in some cases) creates a uniform base so the finish dries evenly and supports better finish longevity.
Is power washing always required before exterior painting?
Not always, but cleaning is essential. Many exteriors need power washing to remove mildew, chalking, salt film, and dirt so paint can bond. The key is letting surfaces dry fully before priming and painting. If you’re planning exterior work along with other upkeep, why June is the perfect time to power wash your home is a helpful seasonal guide.
What’s the best first step if I’m repainting over old wallpaper issues?
Start by confirming the wallpaper is fully removed and the wall is stable, smooth, and sealed. Leftover adhesive and torn facing paper can cause bubbling and poor adhesion. Many homeowners begin with professional wallpaper removal and then repair and prime before painting for a clean, durable finish.

Leave A Comment